If one could only pull materials out of fancy pictures and paste them into the house! When it came to countertops, it turned out that we had expensive tastes. We crossed off the most expensive and explored products that were cheaper per square foot.
More affordable choices had some undesirable quality or other. Tile was not an option anymore so we didn't have to go find any! Epoxy showed up and then faded away as way too much DIY. We liked the warm wood look, but would it be a lot of trouble to waterproof and maintain?
One day my husband had been to a local hardwood place and just happened to be told about some interesting remnants that would be perfect for a countertop. It just so happened that these remnants were just the right amount that we would need, and at a good price! And thus our countertop decision was suddenly made.
I read somewhere recently that "teamwork is dreamwork," and I can say that even if this wasn't a dream (maybe it was a nightmare), it sure is nice to have someone on each corner when you have a task like this... add thick countertop slabs to the list of backbreaking items that have been carried up to the house!
Introducing: BauBuche. It means "building beech" and is a laminated veneer lumber from Germany. Yes, it looks like a lot of plywood ends glued together. We have made a lot this house out of plywood, so it goes with the theme I guess! It certainly had a modern look to it.
We did some design work and came up with something we all liked, that integrated that sink surround idea we had had when we were exploring tile. We had decided that the sink part was best left to professionals. After many visits to view many beautiful pieces of stone, we chose another remnant and had the pros cut and polish it. Of course it had to be carried up the hill, too. Add quartz to the list (at least it had a hole in it!).
I quickly learned that a hand-sander will make very smooth dips all over the surface. We actually went to rent the Fun Machine (see floor posts) and sanded 'em down to bare materials again, and started over with a clear finish.
Construction must go on. Sink is installed and plumbed...
MONTH TWO. It rained. I had been putting coats of finish on all sides evenly. The boys had to do the flipping between coats and now they had to carry the project inside out of the weather. I don't know how many times we rented the Fun Machine so we could strip it and start over. I finally learned to sand with an even hand with the handheld power sander, it saved me the embarrassment of going back to the rental shop.
They turned out to be so perfect, so exactly the functionality we wanted, that I don't think we'll ever replace them. They turn every which way and hold whatever position. We can point them down for a reading light, up for ambiance. They look great in the bays. One of our best purchases for the house!
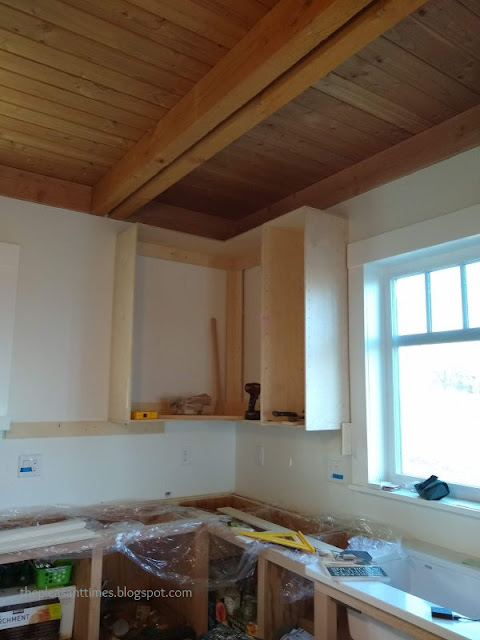
The Carpenter finished the uppers with shelves. Painting would start soon. Hey, you got those countertops done yet?
MONTH THREE. Enough is enough. I give up. Take them away! I'd sanded, coated, sanded off, started over. I'd bought different brushes and applicators, and watched videos on marine finishes for boats. Just take them away, brush marks, drips, dips and all.
Thanks for hanging in there this long, next time I'll take you on a spring walk!


No comments:
Post a Comment
READ ME FIRST!
Pleasant Letters are Most Welcome!
Comments will be moderated for spam control and people having a bad day or making poor life choices.
Due to time constraints it may take a few days to publish and respond to your comments.