Sometimes, when you just want a pretty bit of printed stationery, it can be too daunting to fool around with an image program on a computer. Perhaps even inserting an image into a word processing program can be annoying (as in: my image jumps to places I did not put it!).
Here is a quick way to do some easy stationery from your printer.
I did these using a printer and the easy program that comes with windows:
 Free beautiful Victorian graphics can be had at Karen's Whimsy or Graphics Fairy.
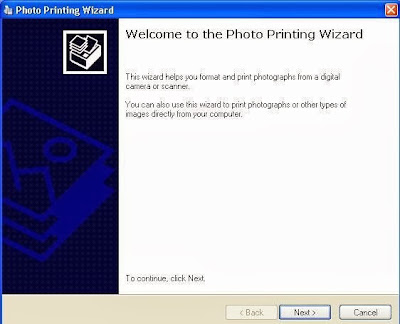
 The "Photo Printing Wizard" pops up. It is what I used with my printer to do this stationery. Simply click "next."

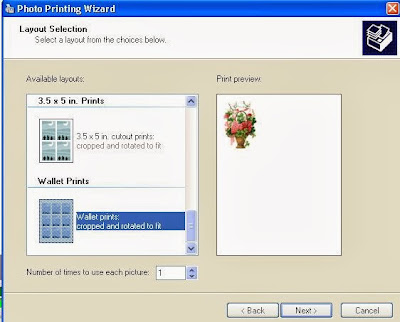
Now you want to tell it what size you want the image. There are several options. First of all, make sure you indicate that you only want one copy. Then choose the size you want. I wanted this one wallet sized:
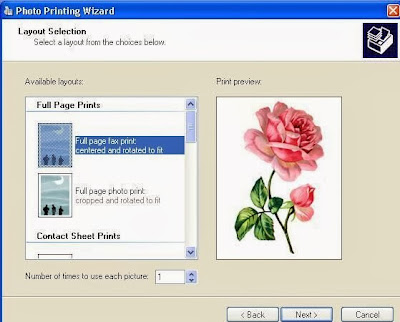

Now I have to tell you that some images will not work this way, the program likes to crop them sometimes. This rose was cut off at the top ("cropped"). I had to find an image that fit the size I wished to have it printed. Tall images do best, but this rose would not go on all the way, for some reason.
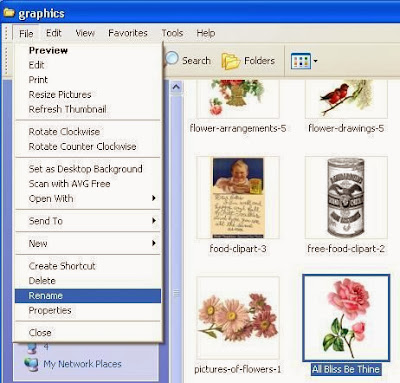
I did find a way that let me print the image I wanted, without having it cropped. To do this, I had to go in a re-name my file, as it will print out with the file name underneath. I chose a lovely phrase for the picture. (To re-name a file, go up to "File" and down to "rename," or right-click and "rename" should be in the menu.)

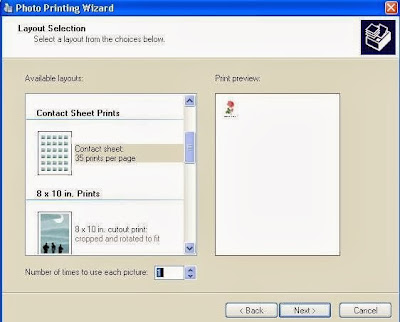
Now back to that printing wizard page: I chose the "contact sheet prints" for my graphic. It puts one little rose up in the corner of my paper, with the new title underneath.
 For a larger graphic, I chose "wallet prints." Wallet size prints do not include the file name.
 Now press "print" and voila! Stationery!
 For a larger graphic, I chose "wallet prints." Wallet size prints do not include the file name.
 Now press "print" and voila! Stationery!
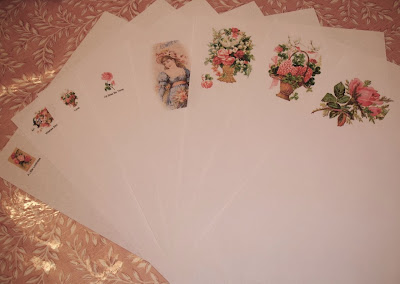
Here are my small graphic prints:
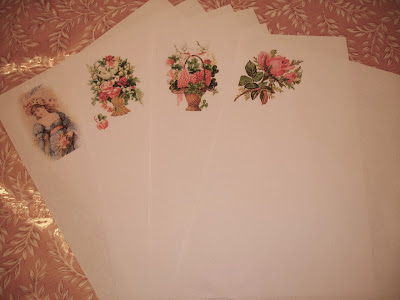
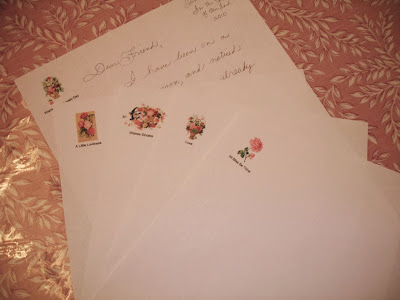 Here are my larger prints. The picture of the girl on the left got cropped a bit, but it wasn't too bad:
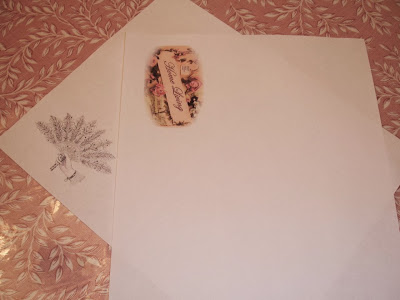
 Tall graphics or photos do best. However, the long ones can also be used. They will print out sideways like this:
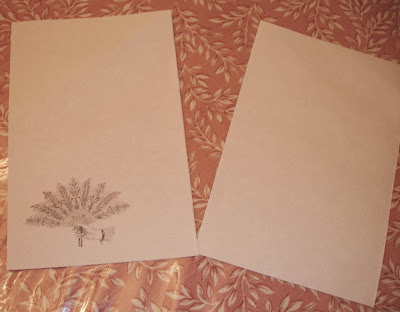
 But you can cut the sheet of paper in half and have a smaller paper like this:
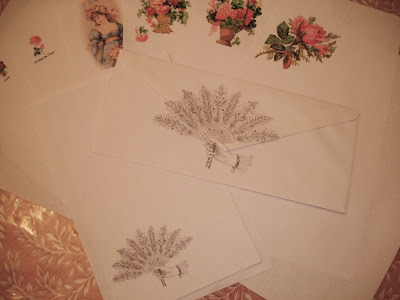
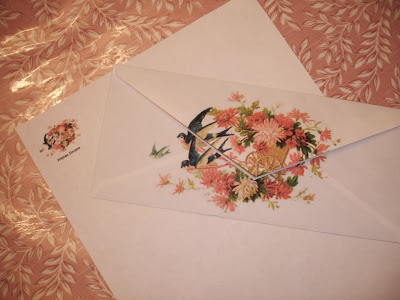
 You can even print on the back of your envelopes:
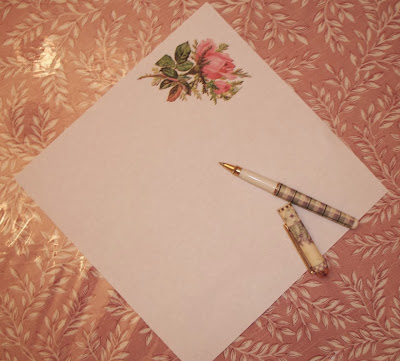
 You can also make unique stationery by cutting the page square after it is printed:
 Here are my larger prints. The picture of the girl on the left got cropped a bit, but it wasn't too bad:
 Tall graphics or photos do best. However, the long ones can also be used. They will print out sideways like this:
 But you can cut the sheet of paper in half and have a smaller paper like this:
 You can even print on the back of your envelopes:
 You can also make unique stationery by cutting the page square after it is printed:


