Saturday, February 4, 2023

In-House Carpenter

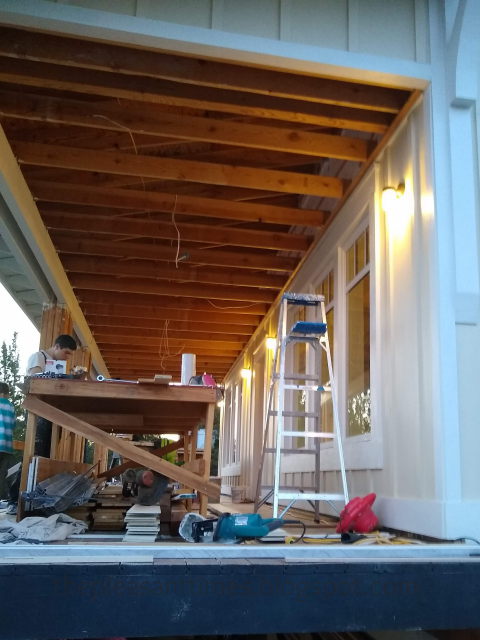
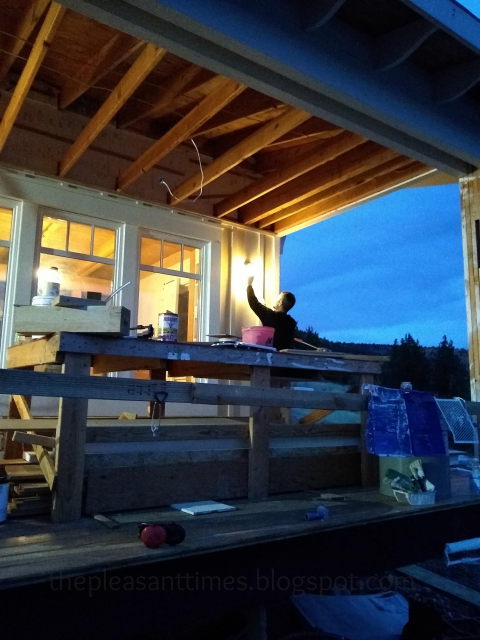
 We were so blessed to have our own home-grown carpenter on site! 

He was on hand to tackle all kinds of custom projects! We seem to excel in making custom projects. That is one thing I learned about drawing house plans-- just because you can make it fit on paper doesn't mean it will work out in real life. I feel like we have truly meshed together the learning experience of architects and builders!

A hole in the wall by the front door became this spot...
...a key cubby, so very useful!
Our budding carpenter also built a custom wooden door for our half-bath sliding door frame. 
Here he is putting trim on the front door to cut down on the drafts. 
He was also called upon to make some custom bathroom vanities. We couldn't find vanities to buy for our bathrooms,  because as I said before, things can look right on paper, but....

We wanted a wall-mount sink in here, the old-school style, because there were several narrow ones that we thought would fit in this tiny room. Turned out that the studs were in all the wrong places, there was no way to connect the sink to anything! Whoops. I suppose we could have punched holes in the drywall and put in the structure for it (but I wonder if those four layers of paint might be impenetrable, hah hah). So custom carpenter: make us a corner vanity!


And the vanity has to have custom spaces for the plumbing, too. 

I got a bargain price on a vessel sink. I wanted to try one, even though the others objected to having them anywhere else. Well, they were right. That thing doesn't drain well, and I still haven't found a tool to clean around the bottom where it meets the vanity. Argh!  

I love all the hardware I have ordered from D. Lawless (this is the "country store" knob). Can't wait to get the kitchen done to show you the drawer pulls I have for that room! 

 The vessel sink proved to be a further pest by being too tall for the faucet, which had to have a block to elevate it to the right height for washing hands. 
(The faucet I will explain more in my epic story of how we found lead-free faucets that were actually more lead-free than the lead-free faucets you buy at the big box stores. Stay tuned.)
For now the sink stays, but I think it is on the replacement list. 


I later added a black appliance pull, also from D. Lawless, for the towel hanger.
 

Our carpenter was so useful to have on-site, and all I had to do was feed him for payment. But you only get these amazing young people for a short time, and then they get wise to your plans and go get a regular job. I will be posting more about the things he has built around here in future posts! 

Saturday, January 28, 2023

Some Exterior Extras


Volunteer Sunflowers decorating the construction site

Who wants to talk about gutters? We had a few more things to add to the exterior and a handful of waning summer weekends saw porch roofing and gutters installed. 
We ordered our gutters from a man in Portland, who was so very kind to drive all the way across the mountains to deliver them himself. He stayed a while and gave us tutorial on how the parts went together and how to install them, and gave us many professional tips. He had even machine-rolled the sharp edges so that we wouldn't cut ourselves in our DIY installation! 
Most of it went well, but this is one of those things that we look back on and say we should have just paid the man to install them instead of trying to do everything ourselves. 

The front of the house had a handy walking surface for our installers. 
To get the gutters up on the back roof required some acrobatics on a ladder perched half on a slippery wet roof and half on a board attached to another random board, all done in the rain. I am not supposed to show up with a camera during those times, so I got an "after" picture. 

I don't think this carpenter's perch qualifies for the Most Dangerous Things You Can Do In Construction prize, for I have certainly seen worse. There are a multitude of details that have to be done on the exterior to make sure everything finishes out snug and waterproof. I believe this was flashing installation. 

I'm not sure if I mentioned our "close call" with roofing. After our main roof was put on, the porch roofing purchase needed to be postponed while other things were done first. By the time we were ready for the rest of the roofing, the supplier was closing shop and retiring! We were able to get our particular roofing made one more time to finish up. 

Fitting the roof to the back stoop!

And another huge progress was the DIY install of the front porch roofing a few weeks later. You can see that we had a good frosty overlay on our underlay one morning. You cannot escape that sense of urgency when winter threatens and you know that you have to get your building buttoned up! I think I know just a wee bit of what the animals must have inside them when smell that bit of frost in the air. If the good weather would just hold on long enough...

And it did.  One more section to roof remained, the sides, and they would prove one of the hardest things in this whole building to do. But at least the large front porch was finally waterproof!

There you have it, a month and a half of Saturdays (and Sundays) and we were just in time for the first (and rather early) snow.


Saturday, January 21, 2023

Industrial Style?

Let's talk for a moment about "Style."

We did not go with one particular "style" (consistently) for this house. We were inspired by many. We like deep trim, recessed windows, high ceilings. I would say the overarching influence is "Craftsman," especially on the exterior;  but there was inspiration from Post-And-Beam, Farmhouse, Modern Farmhouse, and a hodge-podge of lovely house photos done by architects (found on Houzz.)

One style that I am not terribly fond of is the "Industrial." That is where things like metal pipes are left exposed. However, the Modern Farmhouse style had a bit of that. Done well, it wasn't bad (or maybe I had been looking at too much of it...). There are spots in our house that could possibly be filed under "industrial." 

When those you know and love working so hard in front of your eyes you value whatever they do much more than anyone else would. Also being intimately acquainted with the construction of a structure like this is gives you very special feelings about it.

We have a lot of wood in our house, and though most interior designers and architects talk about the "warmth" of wood, there is something else about it I am not sure I can put into words.

 Perhaps because it was a living thing, or that it had been through many processes, hands, and travel to get to us, it feels like the wood has a story to tell and should be left exposed. Even these stamps from the mill add "character" to the place. 


This is surely one of the ugliest photos blogged here! Oddly, when it was time to clean this up, sand it down, saw it back and put a prettier face on it, it felt like a sad moment. Sawed-in-half nails in the faces of the boards looked so interesting, a pity to cover up. But there are plenty of bolts exposed on the decorative brackets, and other things left as part of the "style" we have going here that will show that this is a hand-built house.

As I previously blogged, I wanted some of the laundry room ceiling left exposed. This will mess us all up when the built-ins go in I know, but there is a beauty about the structure that I wanted to preserve. I can't tell you what style of house leaves a hole in the ceiling so you can see floor joists on purpose. I suppose could be called "industrial" but I would rather not use that label.. 

So between the posts and beams, wide trim painted white on windows and doors, and exposed portions of structure, I'm calling it "Humphrey Style."

Saturday, January 14, 2023

The Porch Lights are Spray-painted.

 I thought I would just confess that now. 

I'm hoping to get back into regular blogging after this extended holiday break. I have thought how best to keep presenting this house-building saga that won't bore all of you. When I first started blogging about it here I did just a picture and a sentence, as presenting this subject to the general public was pretty overwhelming. Obviously I could not keep up the minimalist version! 

So far I have been trying to keep the house posts chronological, but I have been thinking more lately about making them topical. Longer, topical posts will not convey the time spent, which is a pity because one of the reasons I am writing about this is to help anyone who is thinking about DIY building a house: It takes a LONG time and I want to accurately represent that! But I think they might be more interesting as we get into places like the kitchen.

Now back to the porch lights!


We bought cheap outdoor light fixtures at the local store because:

 #1 at this point in the build, $5 light fixtures were looking pretty good! 

 #2 they were acceptable (had an old-fashioned look to them) 

#3 they were abundant (in stock) 

#4 they were cheap-- oh did I already mention that? 

These inexpensive, acceptable lights were clear, and once they were installed we realized that it wasn't so pleasant looking at the bare bulb through the glass. So I bought a can of spray paint to turn the clear  glass into faux "milk glass." Not to make them look cheaper, and not to annoy the builders by asking that all 7 lights be taken down and re-installed around the entire house, but just to tame that bare bulb look.

 I learned some lessons about spray paint. First of all, when they tell you to go over the object several times with light coats, be patient and do what they say! There will be spots where you will think you missed, because the coats are thinner in those places. Do not be tempted to just “spot paint” it to fix it!  I was a pro until the very end, when I succumbed to temptation. However, only I know where to look for those mistakes, and I would say they turned out pretty good overall. 

Had they been more expensive fixtures, I am not sure I would have had the courage to take spray-paint to them.

Having outdoor lights aglow surely makes a house look like a welcoming home!